
Appearance
Sync Catalog
After connecting your POS system (see Connect POS), the next step is to sync your catalog to bring your categories, items, modifiers, and modifier groups into the POS Hub platform.
How to Sync the Catalog
If you’re using Lightspeed (O-Series):
In the POS Hub platform, go to the Locations page.
Click on the location where the Lightspeed app was connected.
Navigate to the Apps tab.
Click on the Lightspeed application.
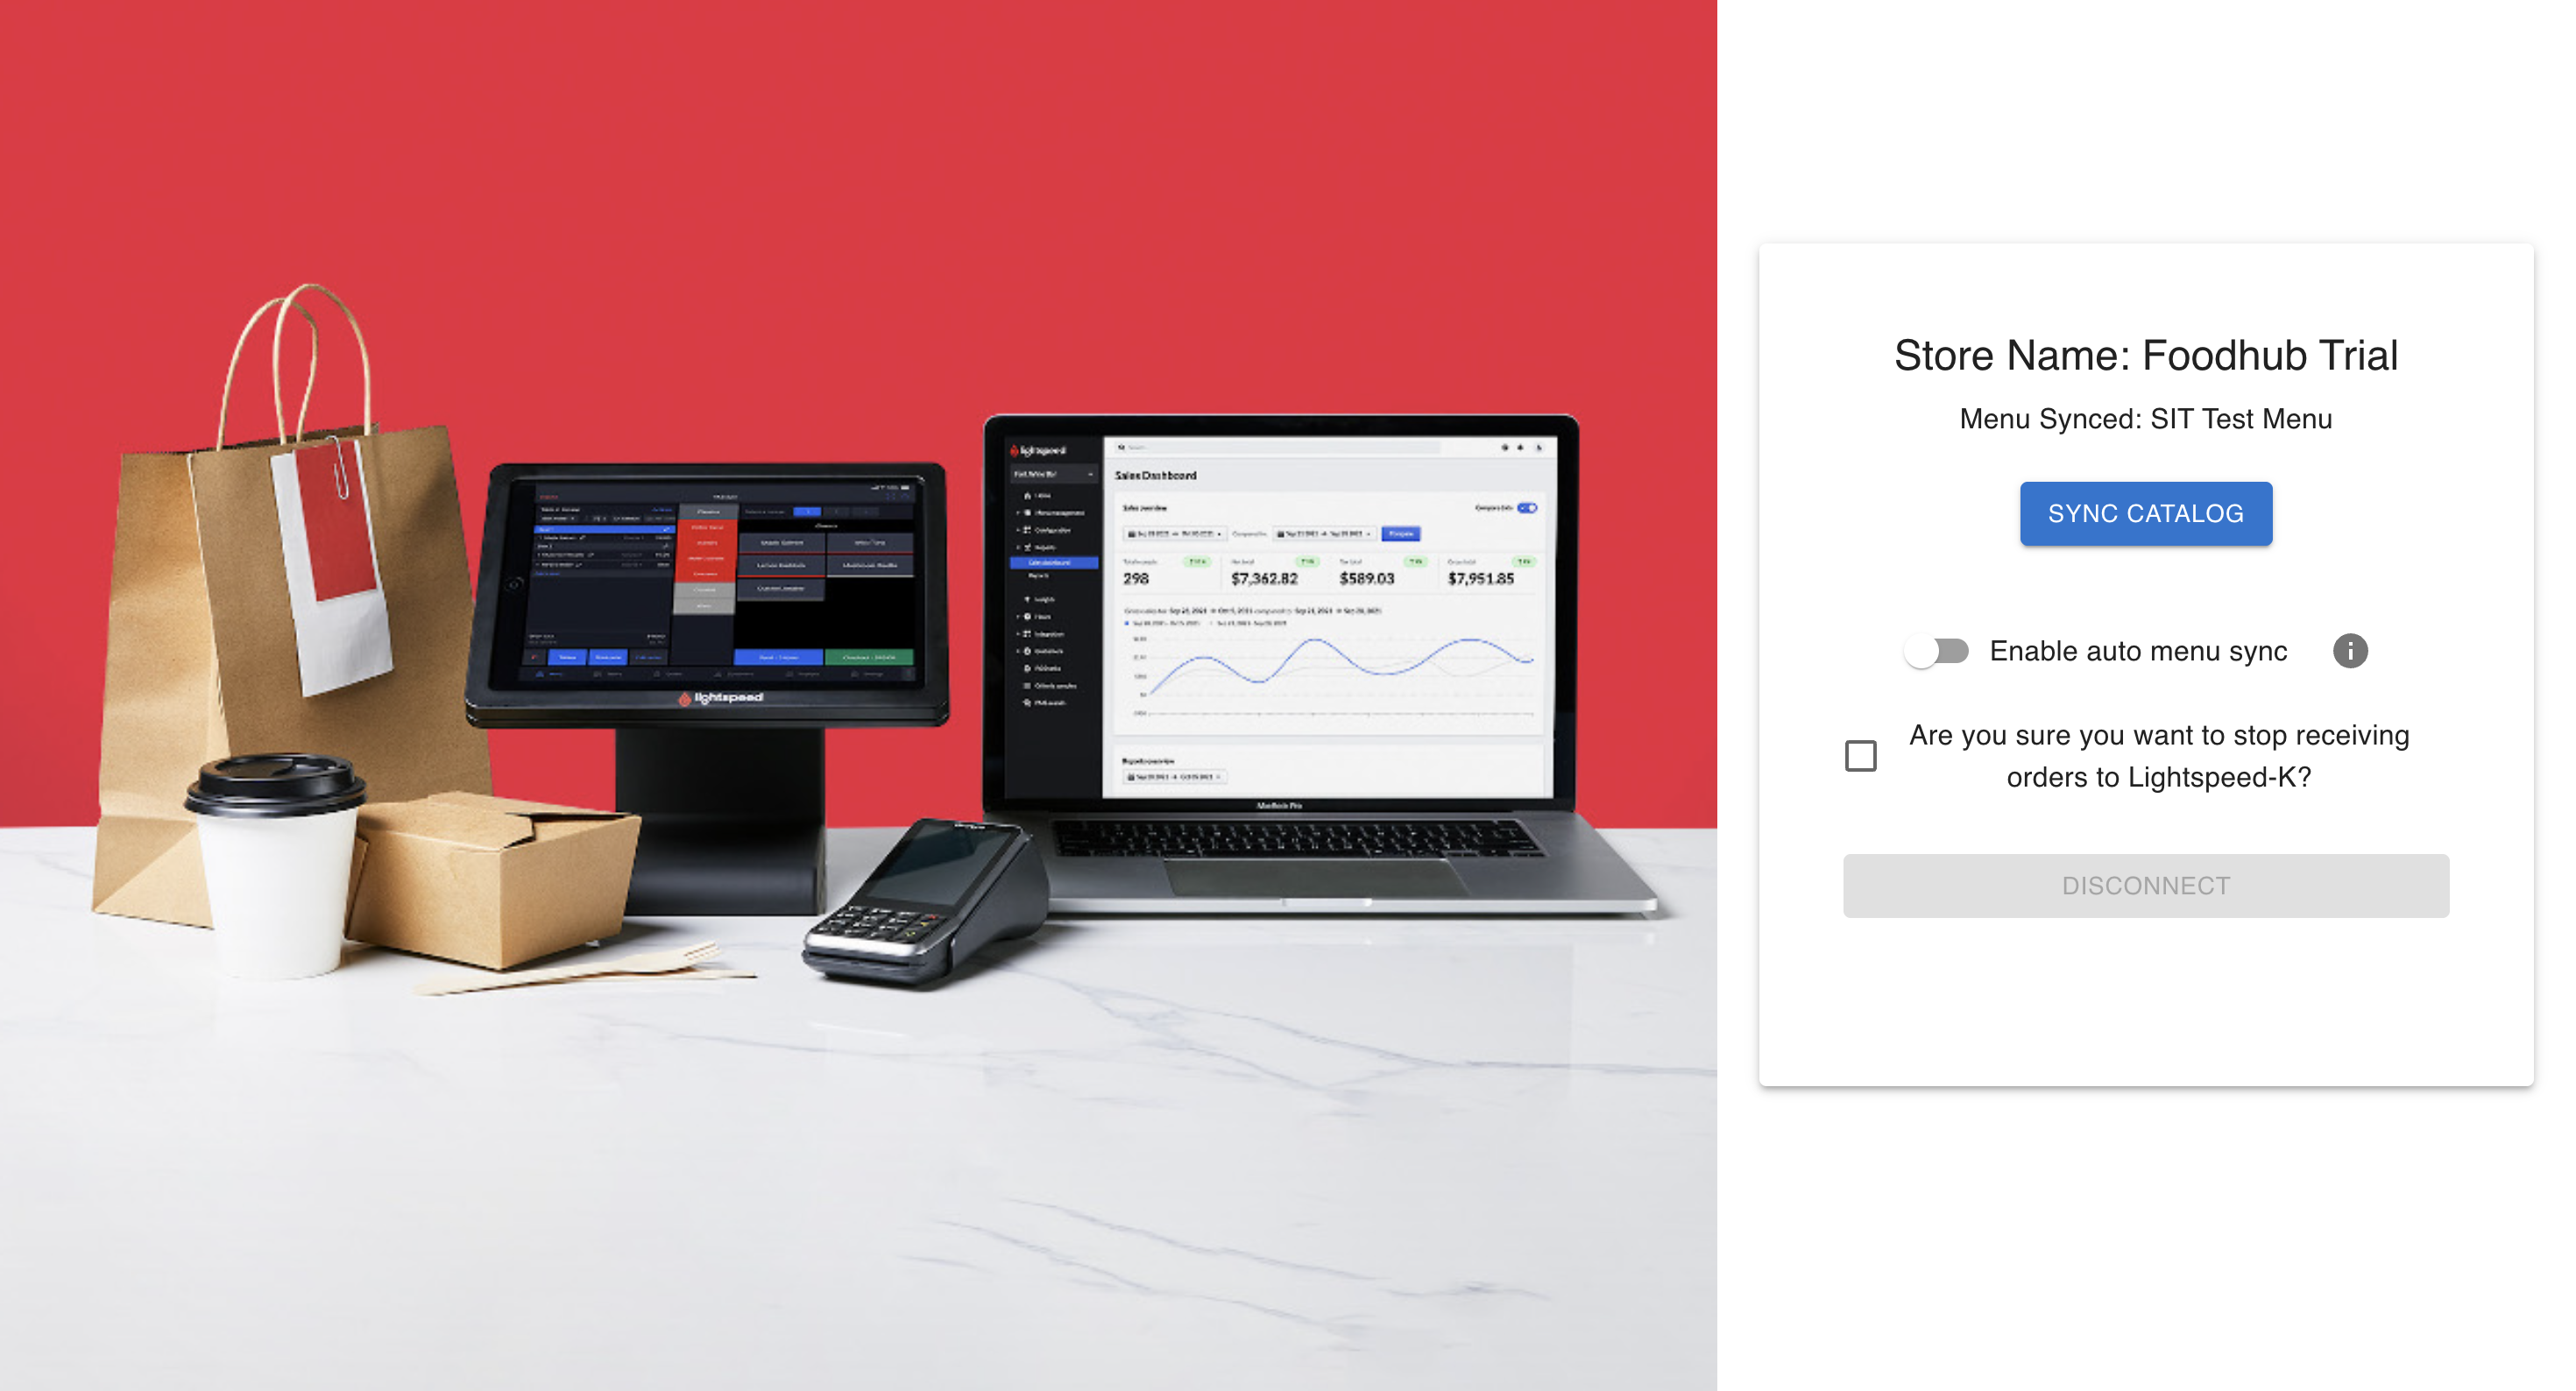
This will open a new tab to the Lightspeed integration screen.
In the Lightspeed tab, click the Sync Catalog button.
View Synced Catalog
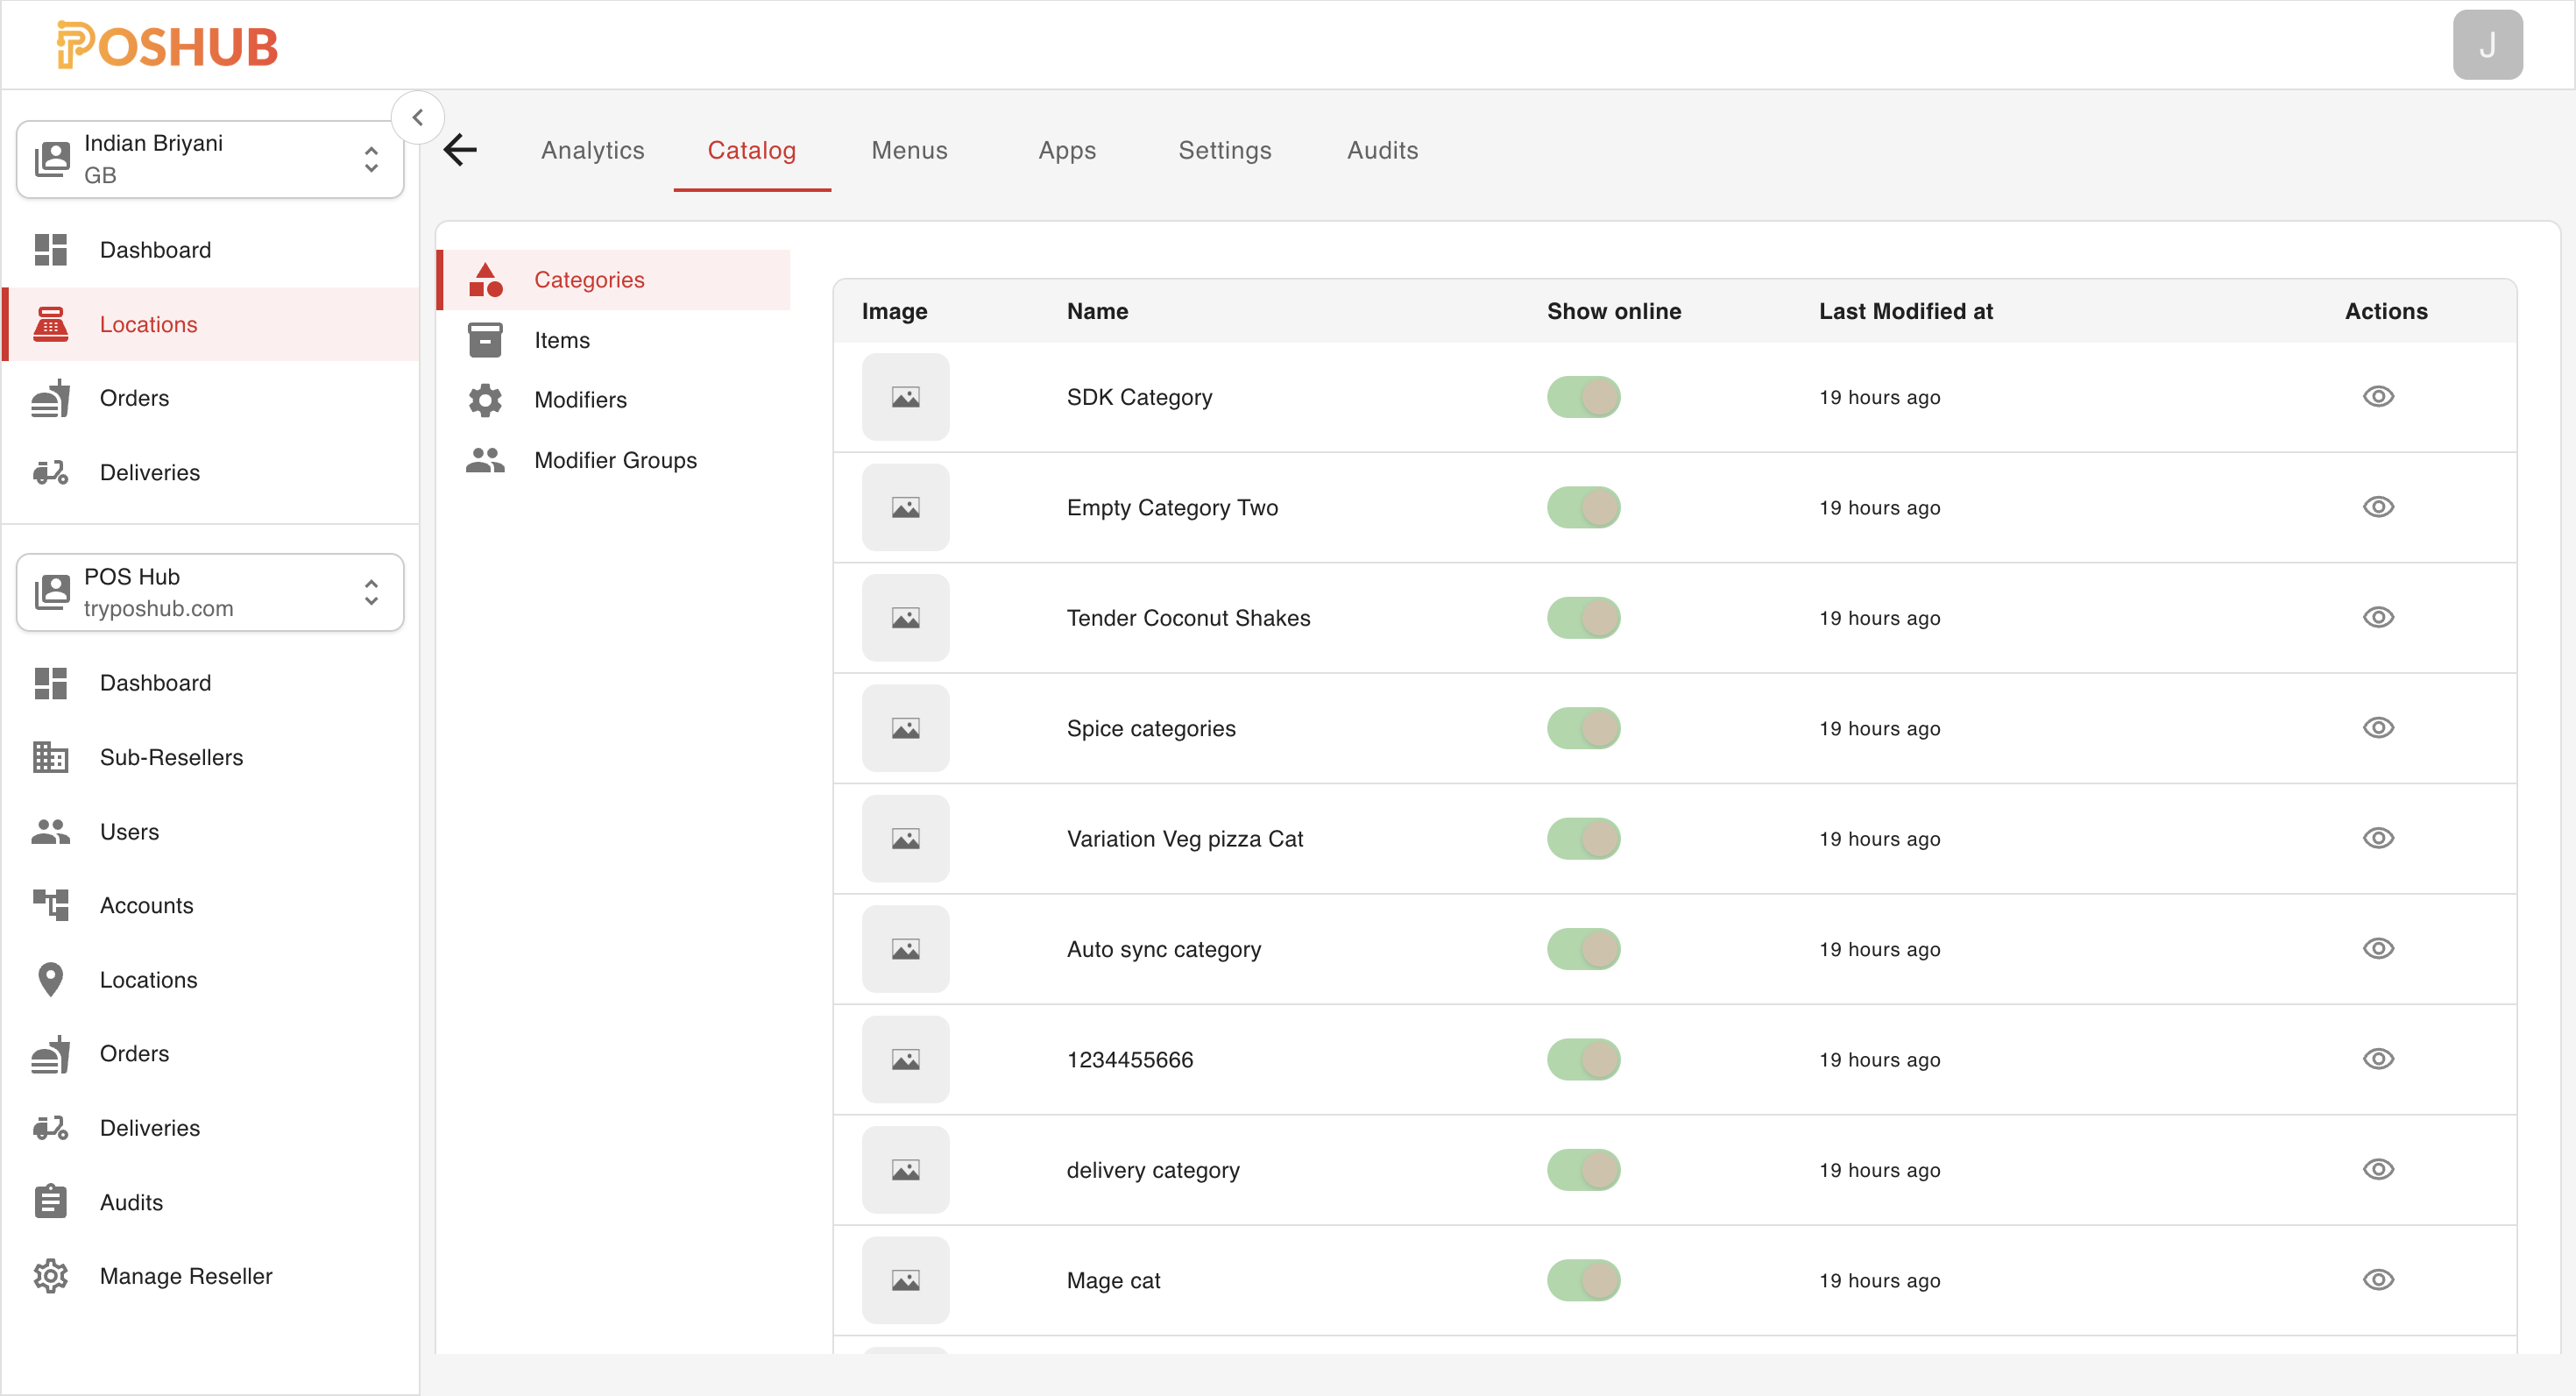
Once the sync is complete, you can view the imported catalog:
In POS Hub, go back to your Location.
Click on the Catalog tab.
Here you’ll see:
- Categories
- Items
- Modifiers
- Modifier Groups
These are pulled directly from your connected POS system.
Review the synced data and ensure everything looks correct. If any changes were made on the POS side later, you can repeat the sync process anytime to refresh the data.
What’s Next?
Now that your catalog is synced, the next step is to Create Menu within POS Hub. This allows you to organize the imported items into customer-facing menus that can be used across channels (e.g., POS, online ordering, kiosk, etc.).