
Appearance
Create Application
Introduction
Creating an application is the first step to integrating with POS Hub, creating an application will allow you to authenticate, authorize and interact with the POS Hub API, as well as providing an installable application that can be installed on any location that is compatible with your application.
Prerequisites
Before you can create an application, you must first register for a POS Hub users, we recommend you create a dedicate user for your applications, such as development@your-org.com, this will allow clear separation of access between operation and technical teams.
Create an Application
Step 1: Navigate to Create Application
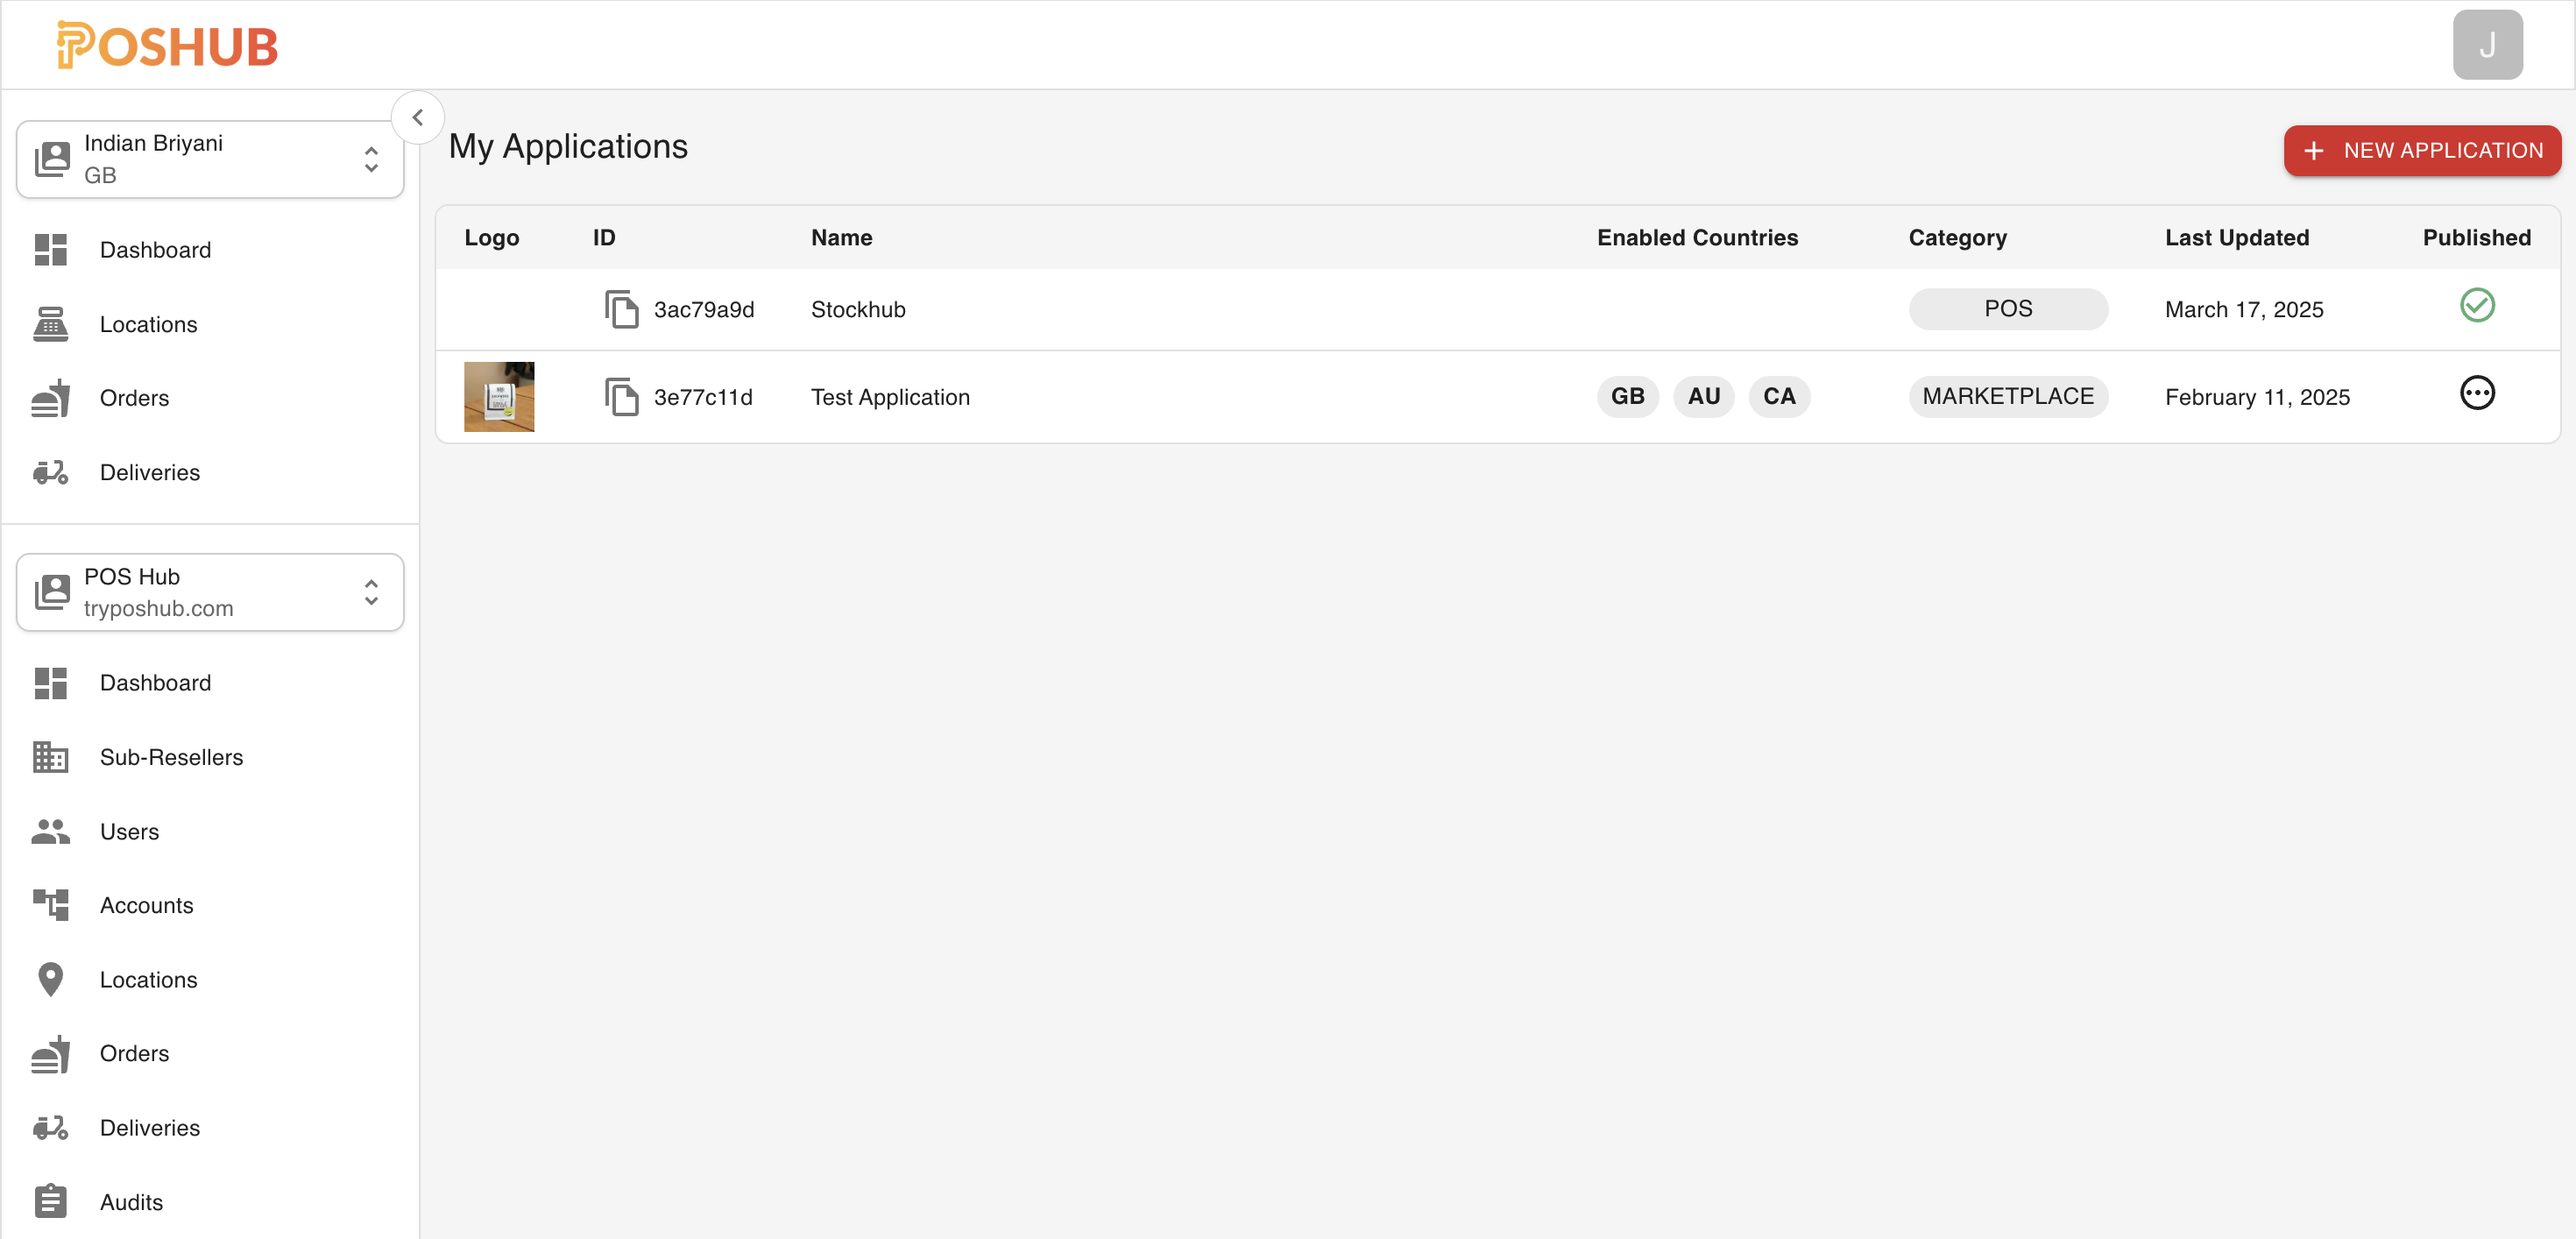
To create an application, you must first navigate to the Developer Area, to do this, click on the user icon on the top right corner of the screen, then click on Developers.

Once you are in the Developer Area, click the + icon on the bottom right corner of the screen.
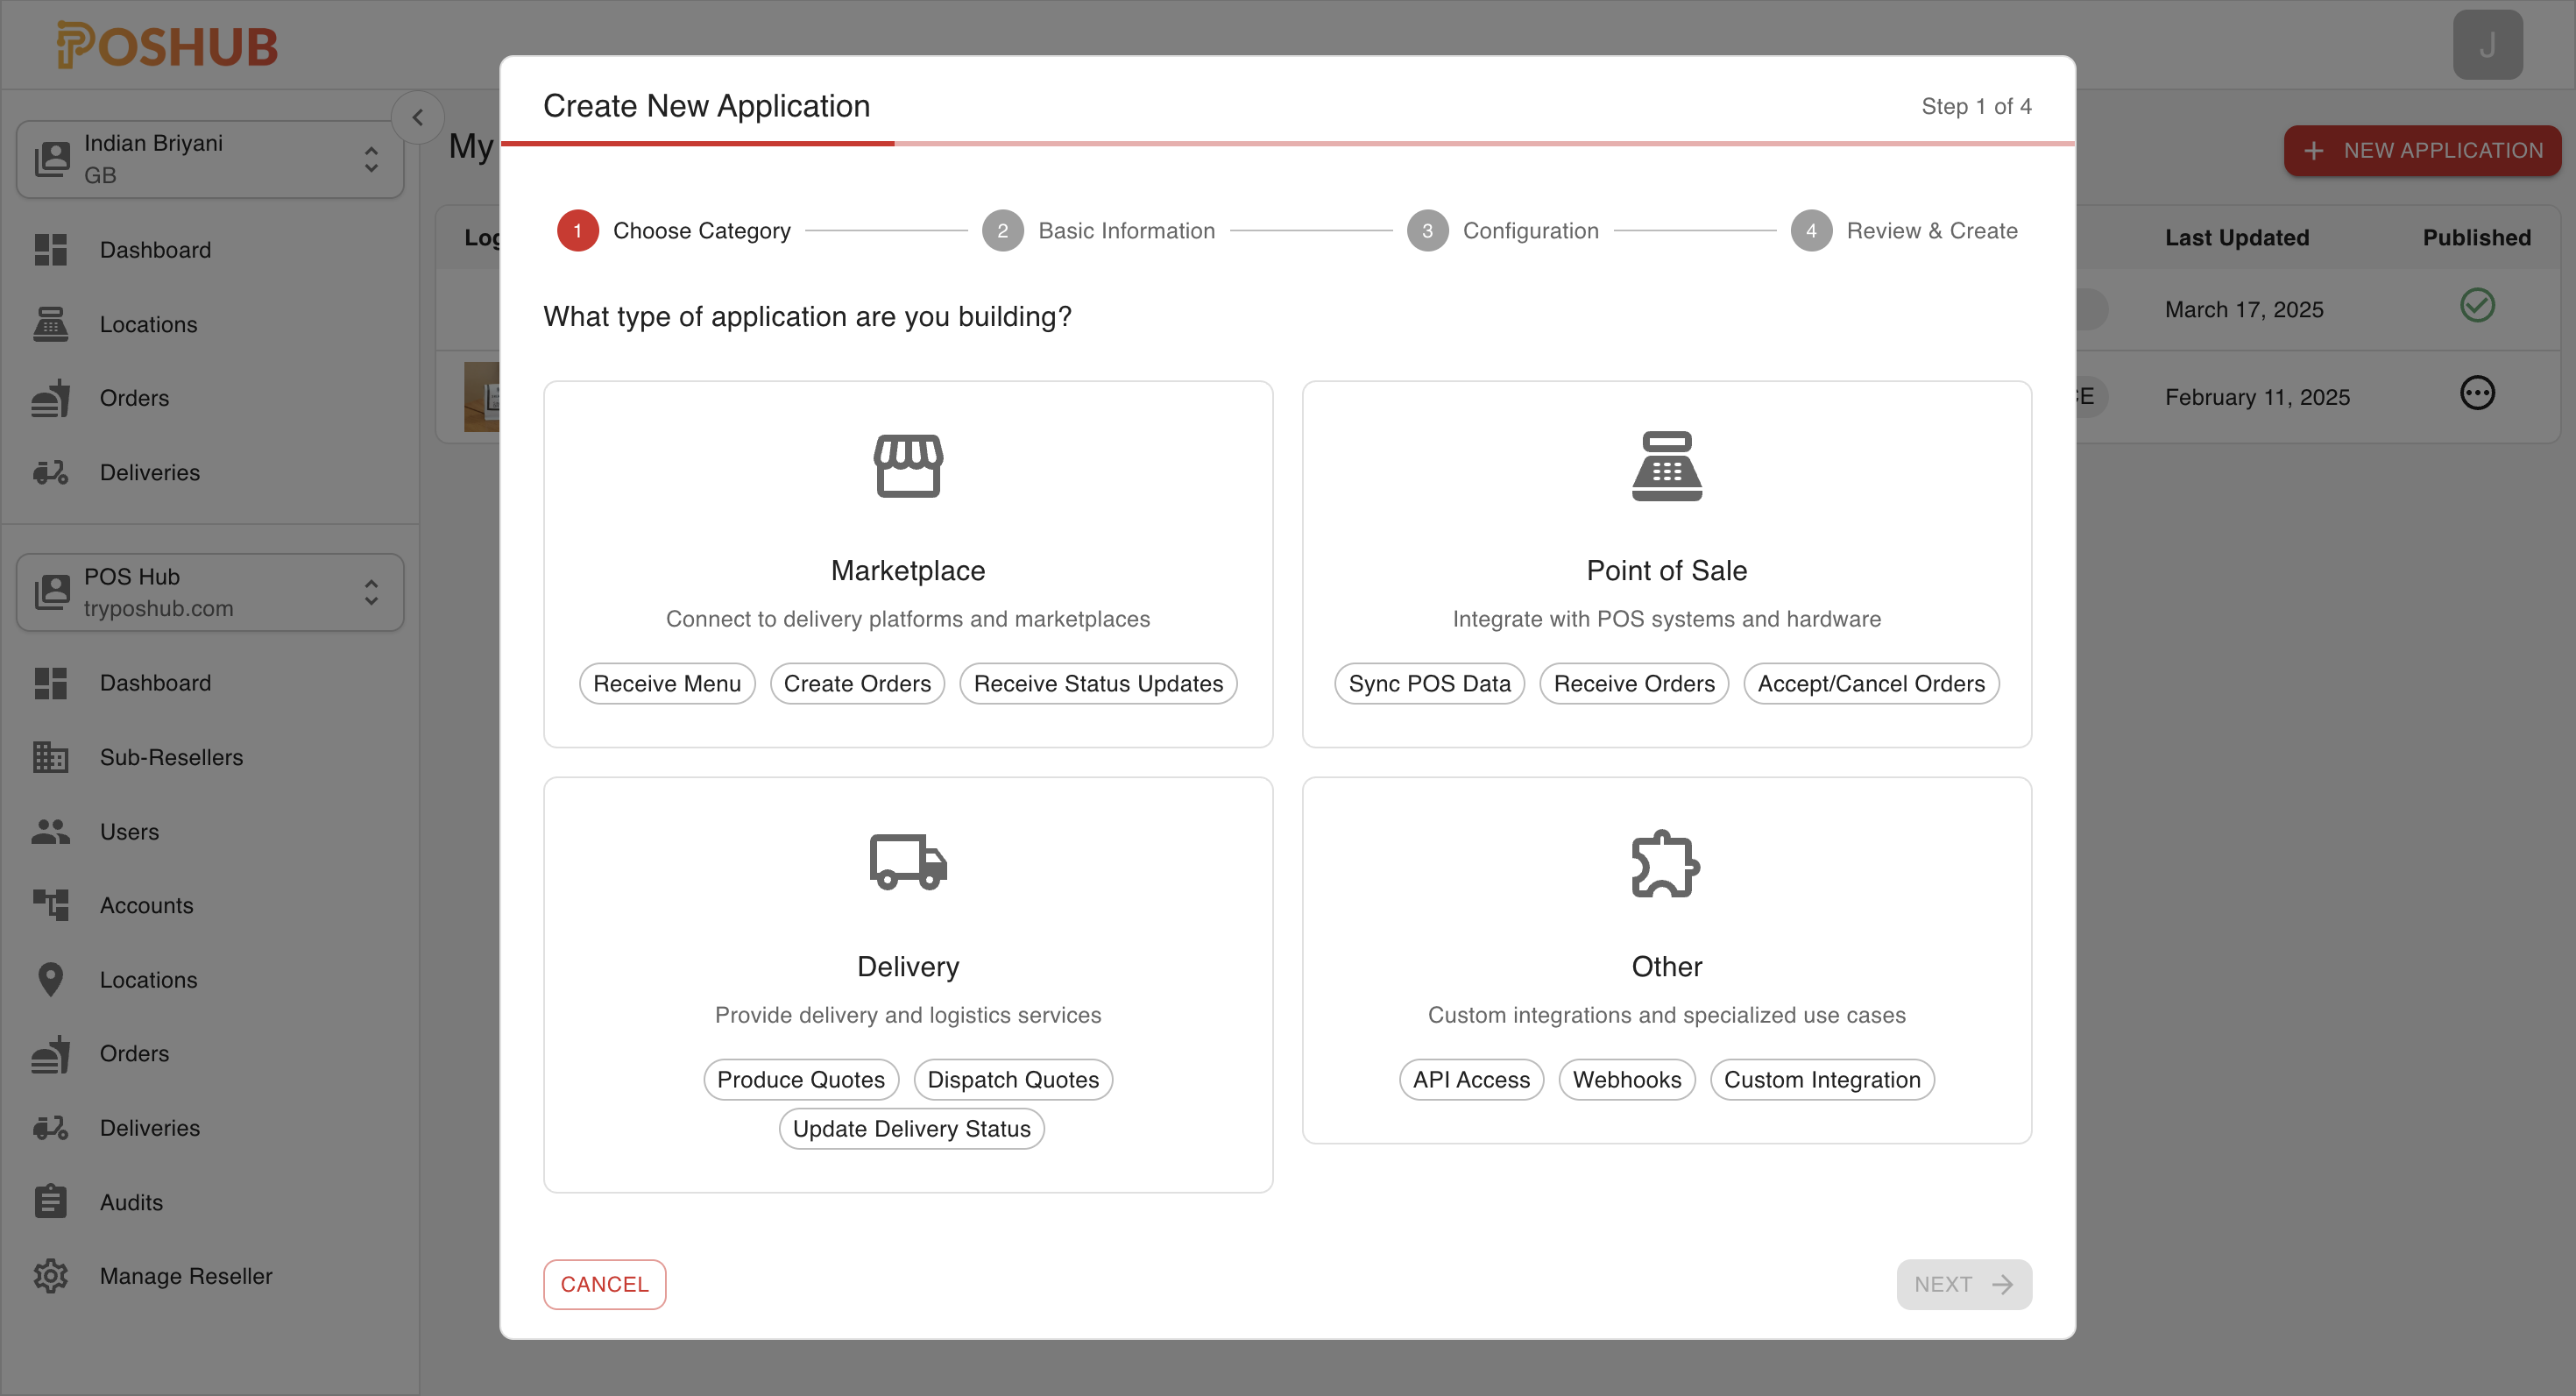
Step 2: Create Application
Here you will be required to fill in the following fields:
- Type: The type of application you are creating, this will determine the what configuration options are available to you.
- Name: The name of your application, this will be displayed to the user when they install your application.
- Description: A brief description of your application, this will be displayed to the user when they install your application.
- Redirect URI: The URI that the user will be redirected to after they have authenticated with POS Hub, this URI must be a valid URI that is accessible by the user.
- Webhook URI: The URI that POS Hub will send events to, this URI must be a valid URI that is accessible by POS Hub.
INFO
Depending on the type of application, you may be required to fill in additional fields, such as action urls, webhook urls, etc.