
Appearance
Authorization Using API
Overview
This guide describes how to automate the process of establishing a connection between your application and a POS Hub location using the API. Use this flow when you need to create accounts and locations programmatically, then connect your application to a location—all without manual steps in the POS Hub UI.
For the standard, user-driven authorization flow (e.g. "Connect Application" in the POS Hub client), see Authorization.
Base URL by environment
API base URLs depend on your environment. See Environments for details:
- SIT:
https://api-sit-dr.stage.tryposhub.com - Production:
https://api.tryposhub.com
Replace {baseUrl} in this guide with the appropriate base URL. Interactive API docs (Swagger) are available at {baseUrl}/docs/index.html.
Prerequisites
- A reseller has been created for your partner by POS Hub. You will use the reseller owner account credentials for the initial steps.
- Your application’s client ID and client secret (from Create Application).
- Appropriate admin scopes for the reseller token (e.g. account and location management). Your POS Hub contact can confirm the exact scope values (e.g.
ADMIN_SCOPES).
Step 1: Reseller setup and reseller token
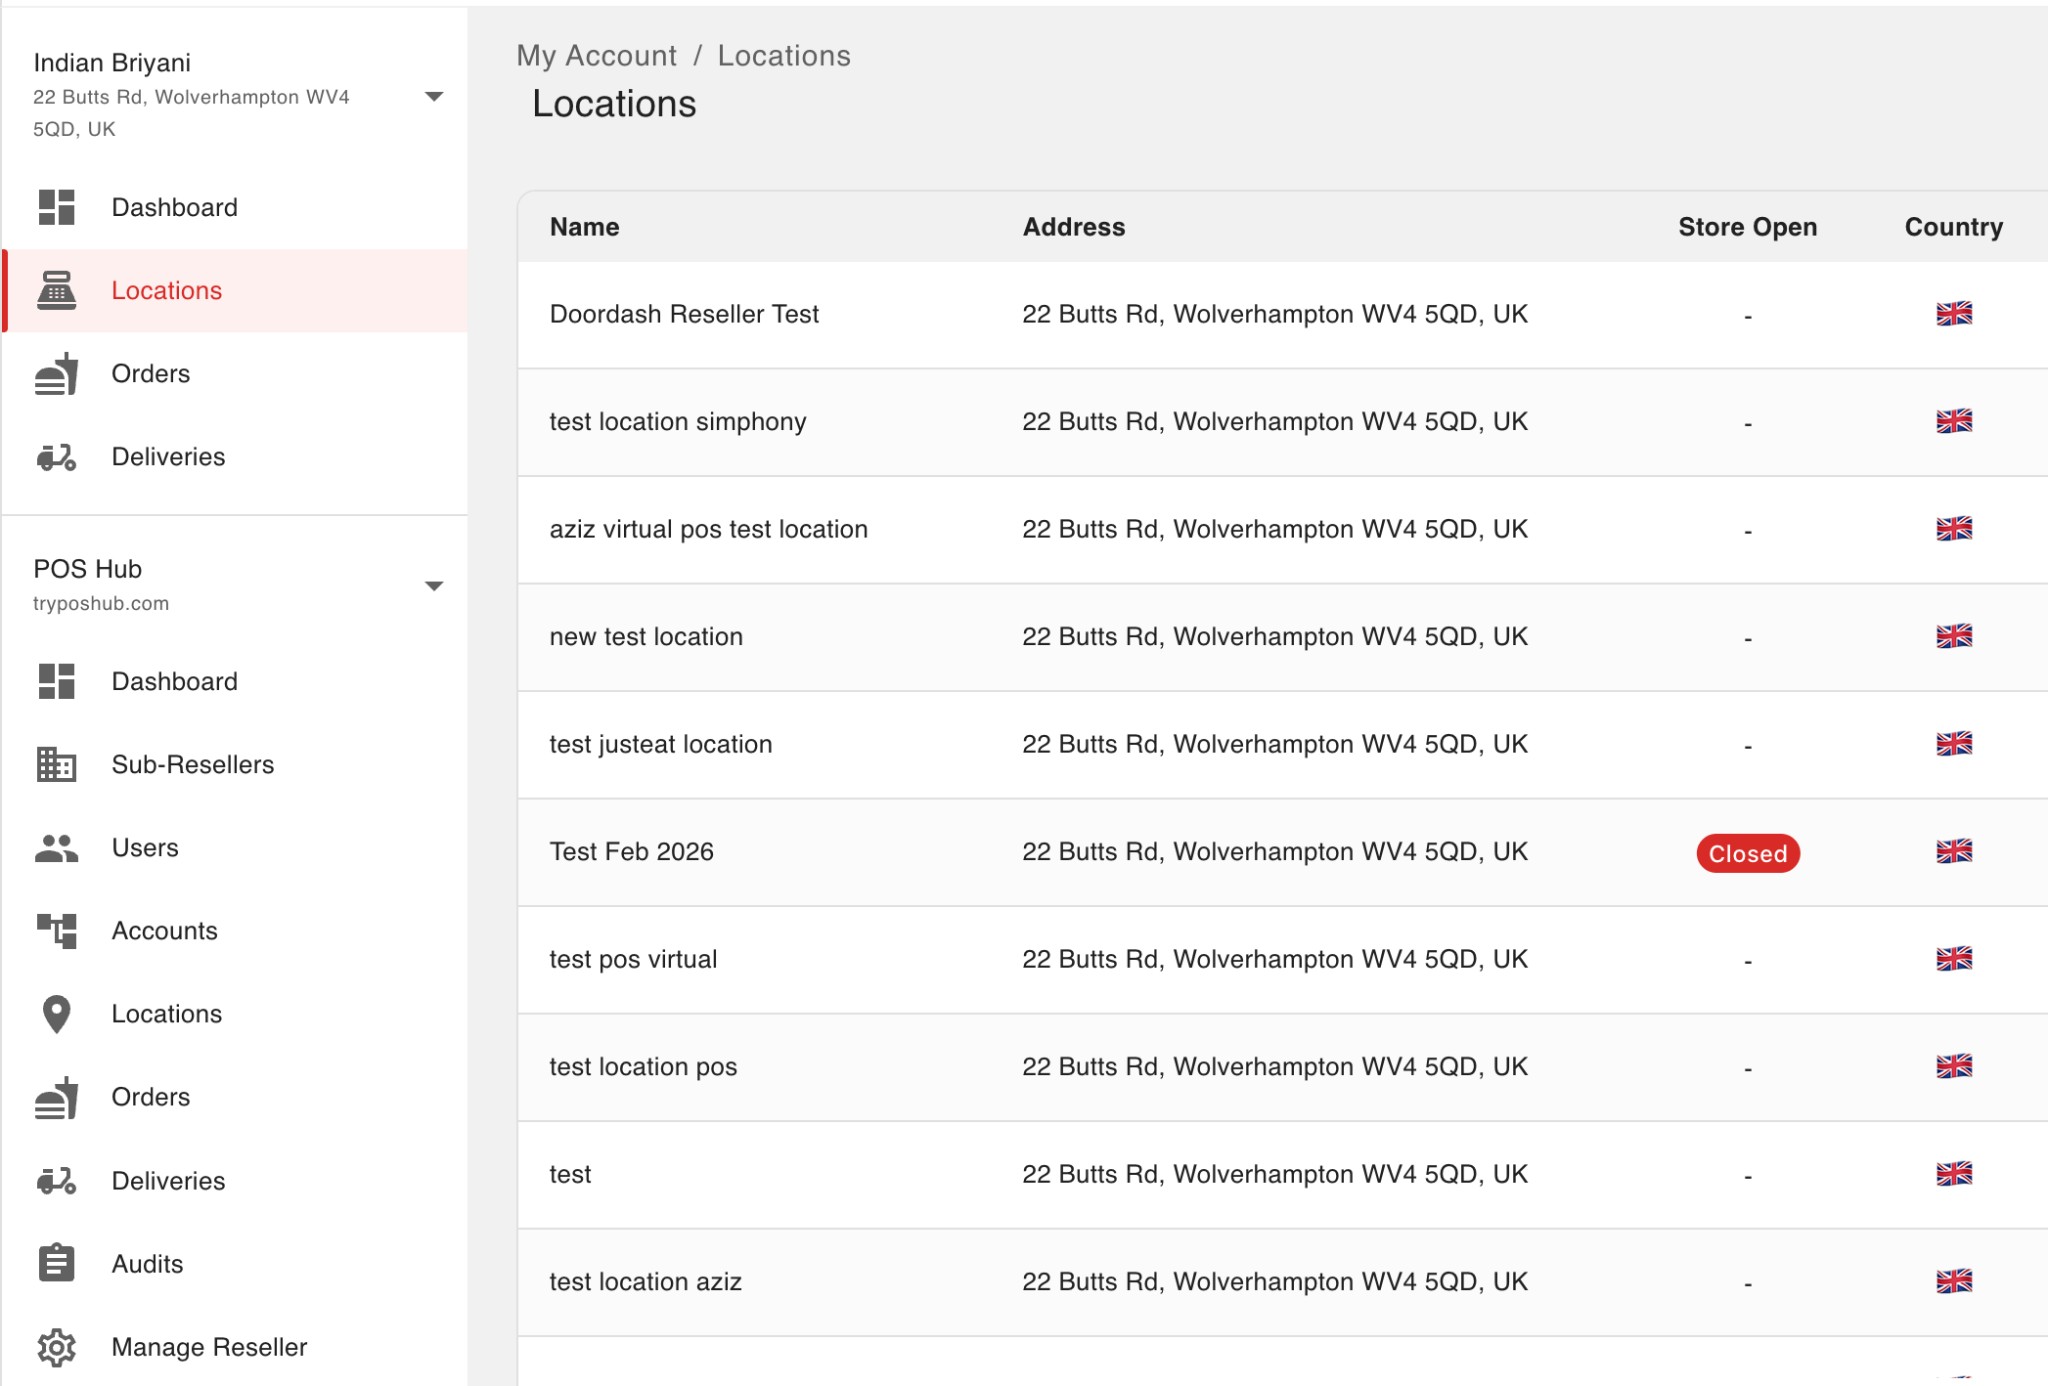
Once the reseller is created, the owner account can log in to the POS Hub client and will see the reseller management area: Dashboard, Resellers, Users, Accounts, Locations, Orders, Deliveries, Audits, and Manage Reseller. The Locations view under the reseller (POS Hub section) looks like this:
Using the reseller owner credentials (username and password), obtain an access token from the token endpoint. This token will be used in the next steps to create accounts and locations.
Endpoint: POST {baseUrl}/oauth2/token
Request body (e.g. application/x-www-form-urlencoded):
json
{
  "grant_type": "password",
  "username": "ADMIN_USERNAME",
  "password": "ADMIN_PASSWORD",
  "client_id": "CLIENT_ID",
  "client_secret": "CLIENT_SECRET",
  "scope": "<space-separated admin scopes>"
}
Use a space-separated list of admin scopes (e.g. the values from ADMIN_SCOPES in your configuration). Your POS Hub contact can provide the exact scope names.
| Parameter | Description |
|---|---|
grant_type | Must be password. |
username | Reseller owner (admin) username. |
password | Reseller owner (admin) password. |
client_id | Your application’s client ID. |
client_secret | Your application’s client secret. |
scope | Space-separated admin scopes. |
Example (form-encoded):
bash
curl -X POST "https://api-sit-dr.stage.tryposhub.com/oauth2/token" \
  -H "Content-Type: application/x-www-form-urlencoded" \
  -d "grant_type=password&username=ADMIN_USERNAME&password=ADMIN_PASSWORD&client_id=CLIENT_ID&client_secret=CLIENT_SECRET&scope=<admin_scopes>"
Use the returned access_token as the reseller token in the following steps (e.g. Authorization: Bearer <access_token>).
Step 2: Create account and location with the reseller token
Using the same reseller token, create:
Account
Endpoint:POST {baseUrl}/v1/resellers/{resellerId}/accounts- SIT: Create account (SIT)
- Production:
https://api.tryposhub.com/docs/index.html#/paths/v1-resellers-resellerId--accounts/post
Location
Endpoint:POST {baseUrl}/v1/resellers/{resellerId}/locations- SIT: Create location (SIT)
- Production:
https://api.tryposhub.com/docs/index.html#/paths/v1-resellers-resellerId--locations/post
Headers: Authorization: Bearer <reseller_token>
Use the request/response schemas in the linked API docs for each environment. Keep the created location identifier for the next step.
Step 3: Get applications and use the onboarding URL
Once the account and location are created, call the list applications endpoint for that location using the reseller token. The response includes an onboardingUrl for each application. Opening or requesting that URL starts the OAuth flow that establishes the connection between your application and the location.
Endpoint: GET {baseUrl}/v1/resellers/{resellerId}/locations/{locationId}/applications
- Full API reference (varies by environment):
Headers: Authorization: Bearer <reseller_token>
From the response, use the onboardingUrl for your application. When you open or GET that URL (for example in a browser or your server follows the redirect), the OAuth authorization completes and the user is sent to a redirect URL you configured for the application.
Redirect URI and identifiers
The final redirect goes to your application’s configured redirect URI. The URL includes query parameters so you can identify the POS Hub context and the new connection, for example:
accountId— POS Hub account identifierlocationId— POS Hub location identifierconnectionId— connection between your application and this locationapplicationId— your application’s identifier
You may also receive standard OAuth parameters (such as an authorization code and state, depending on the flow). Store accountId, locationId, and connectionId (and any other values you need) in your systems if you want a durable mapping between POS Hub and your own store or tenant records—for example, linking a merchant’s POS Hub location to a store ID in your platform.
Step 4: Connection complete
After the onboarding URL is used, the connection between your application and the location is established. The location will show the application as pending in POS Hub, and you can use client credentials or other granted flows to call the API on behalf of that location.
Summary flow
| Step | Action | Token used | Key endpoint(s) |
|---|---|---|---|
| 1 | Get reseller token | — | POST {baseUrl}/oauth2/token (password grant) |
| 2 | Create account and location | Reseller token | POST .../accounts, POST .../locations |
| 3 | Get applications → use onboardingUrl | Reseller token | GET .../v1/resellers/{resellerId}/locations/{locationId}/applications |
| 4 | Connection added to location | — | Redirect to your app’s redirect_uri with accountId, locationId, connectionId, etc. |
For environment-specific base URLs and Swagger links, see Environments.